The Studio // The Playroom

Earlier this week I sat down and wrote up a bunch of blog posts, on paper, because I'm old school like that and I was outside watching the boys run around (and get stung by bees... true story) and I haven't had the money to replace the laptop that died at the end of last year.
... that's not the point.

The point is that I had all these posts about things that I have been doing over the last few months, as I wanted to at least attempt to bring this blog up to date.

Alas.
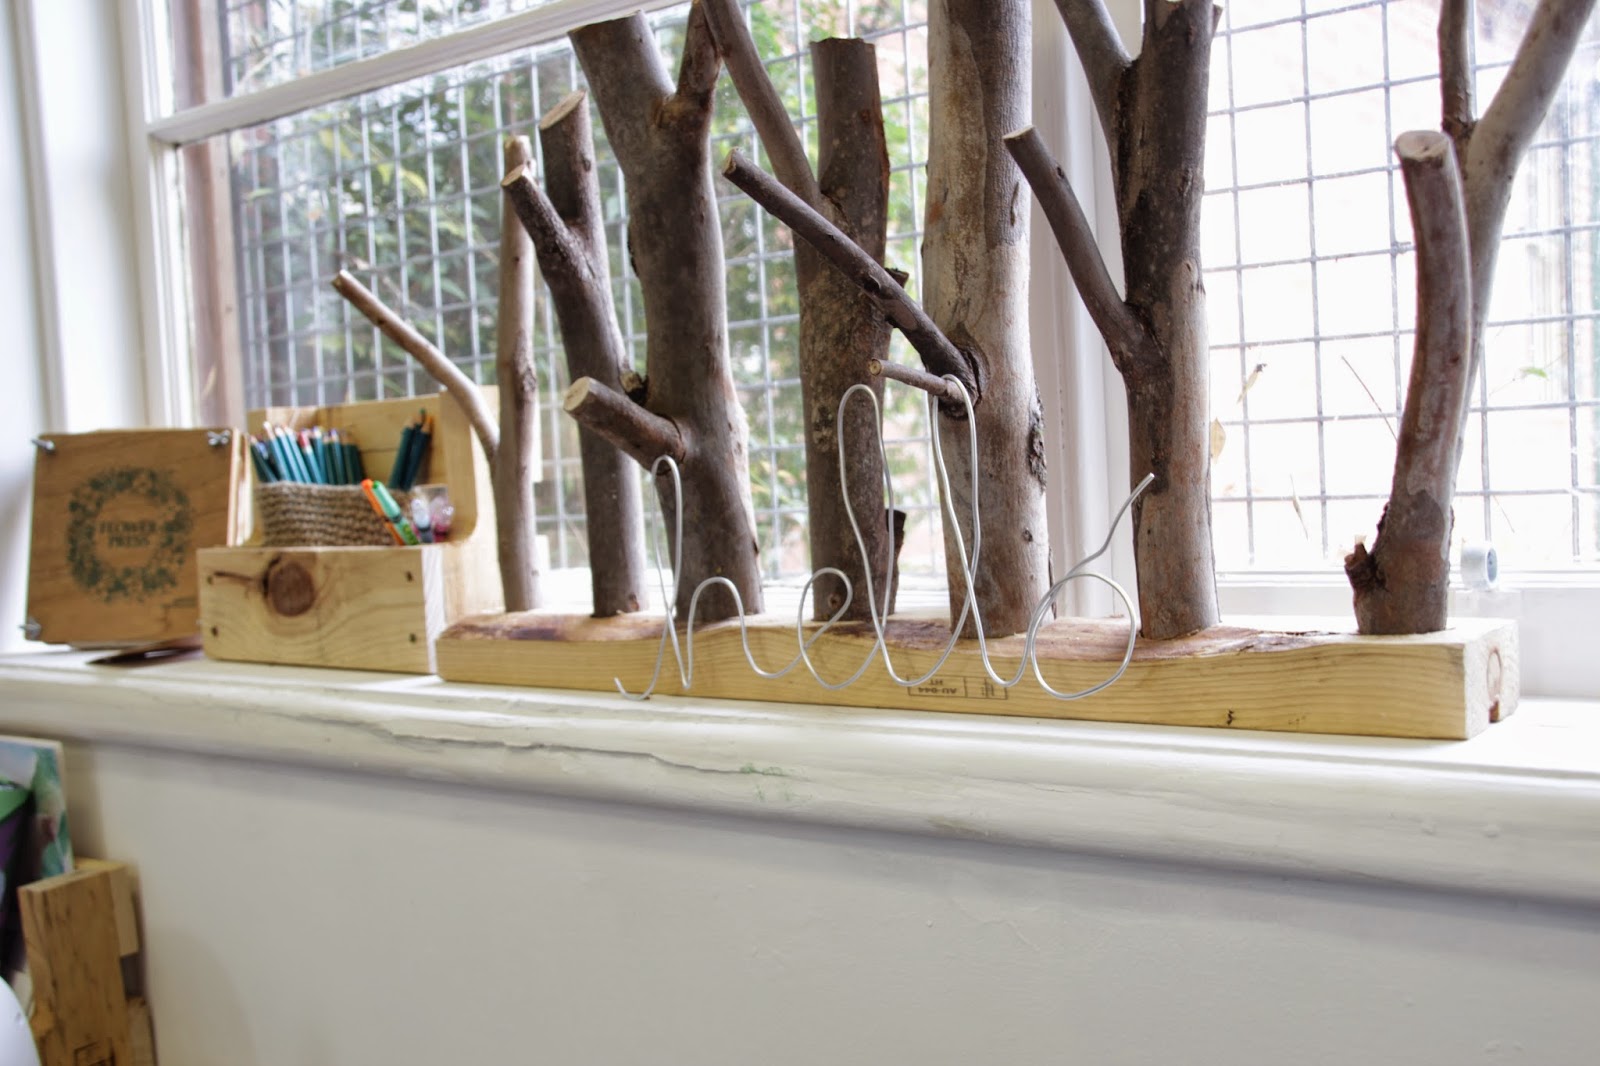
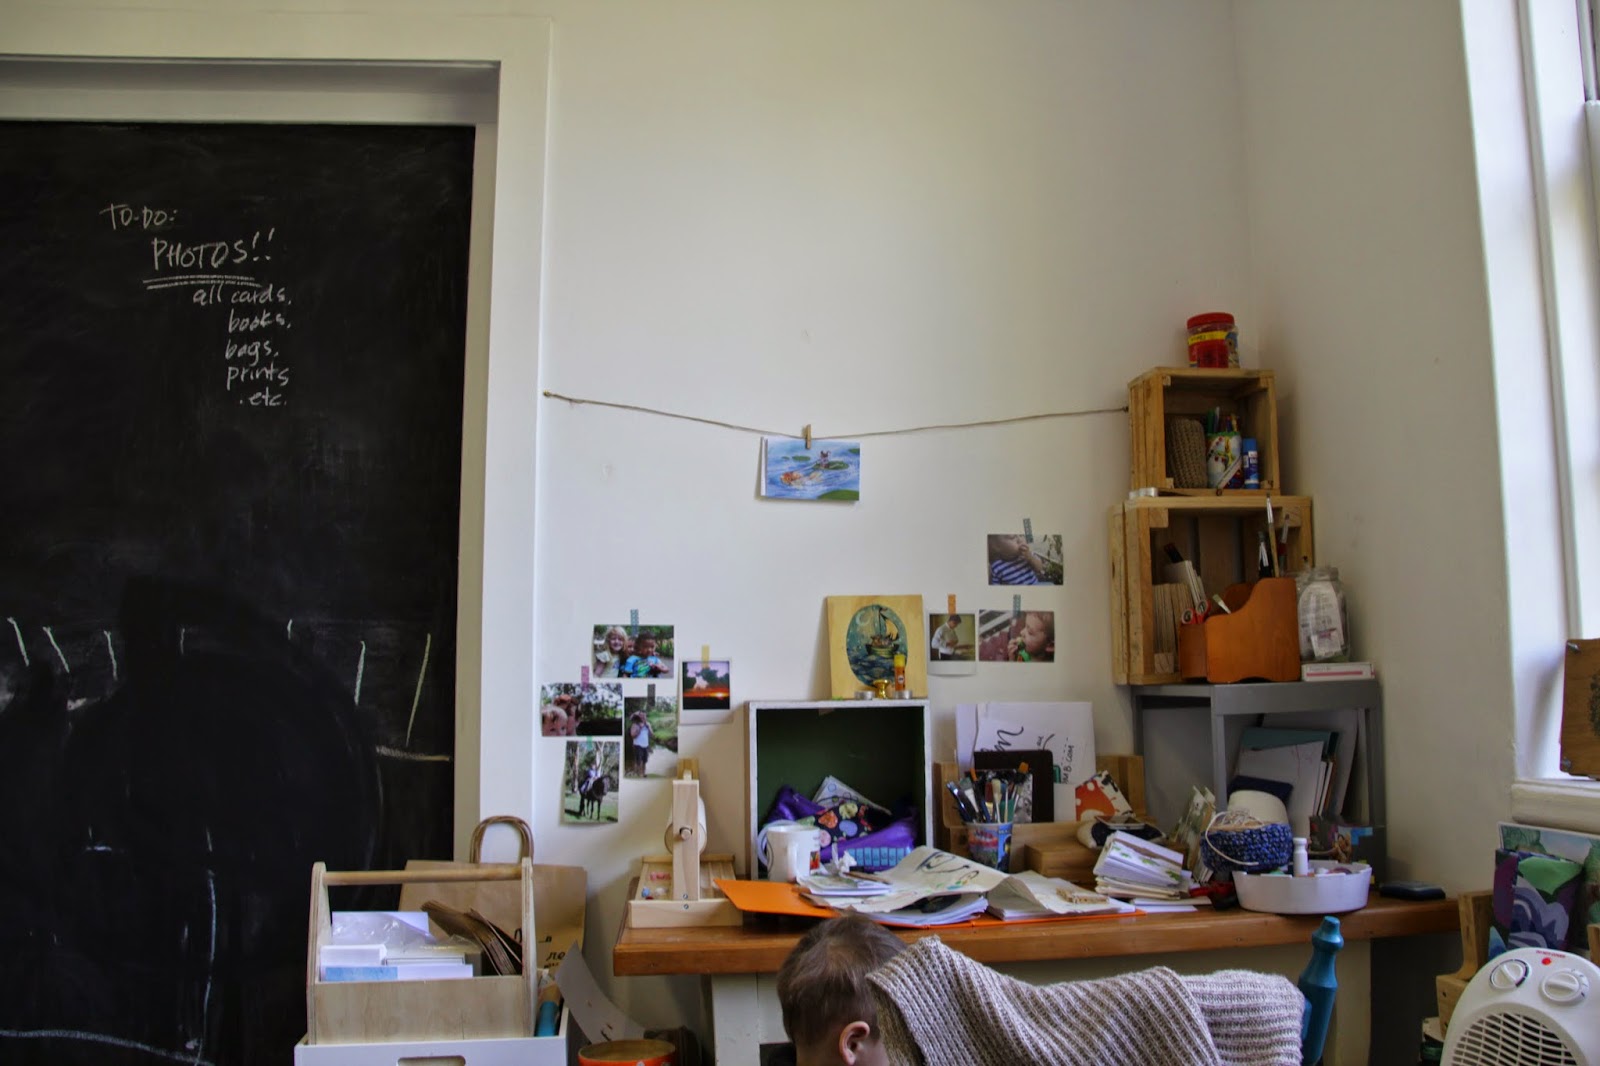
The only thing that I really want to talk to you about and show you is my cool new studio.

So everything else just has to wait.


When I wrote up the business plan for The Elm Tree one of the main drives, although it was never stated directly, was to create a work environment for me that would allow me to contribute financially to the household while also allowing me to be with the boys. The boys were the priority.

The move to a studio-based online version of the store was a straight forward decision. On my own I couldn't maintain opening hours, without becoming a somewhat negligent mother, housekeeper, and wife. As it is I am an utter failure at maintaining the tidiness of our house.

So we closed the shop and moved. Now we work from our very own studio/playroom.


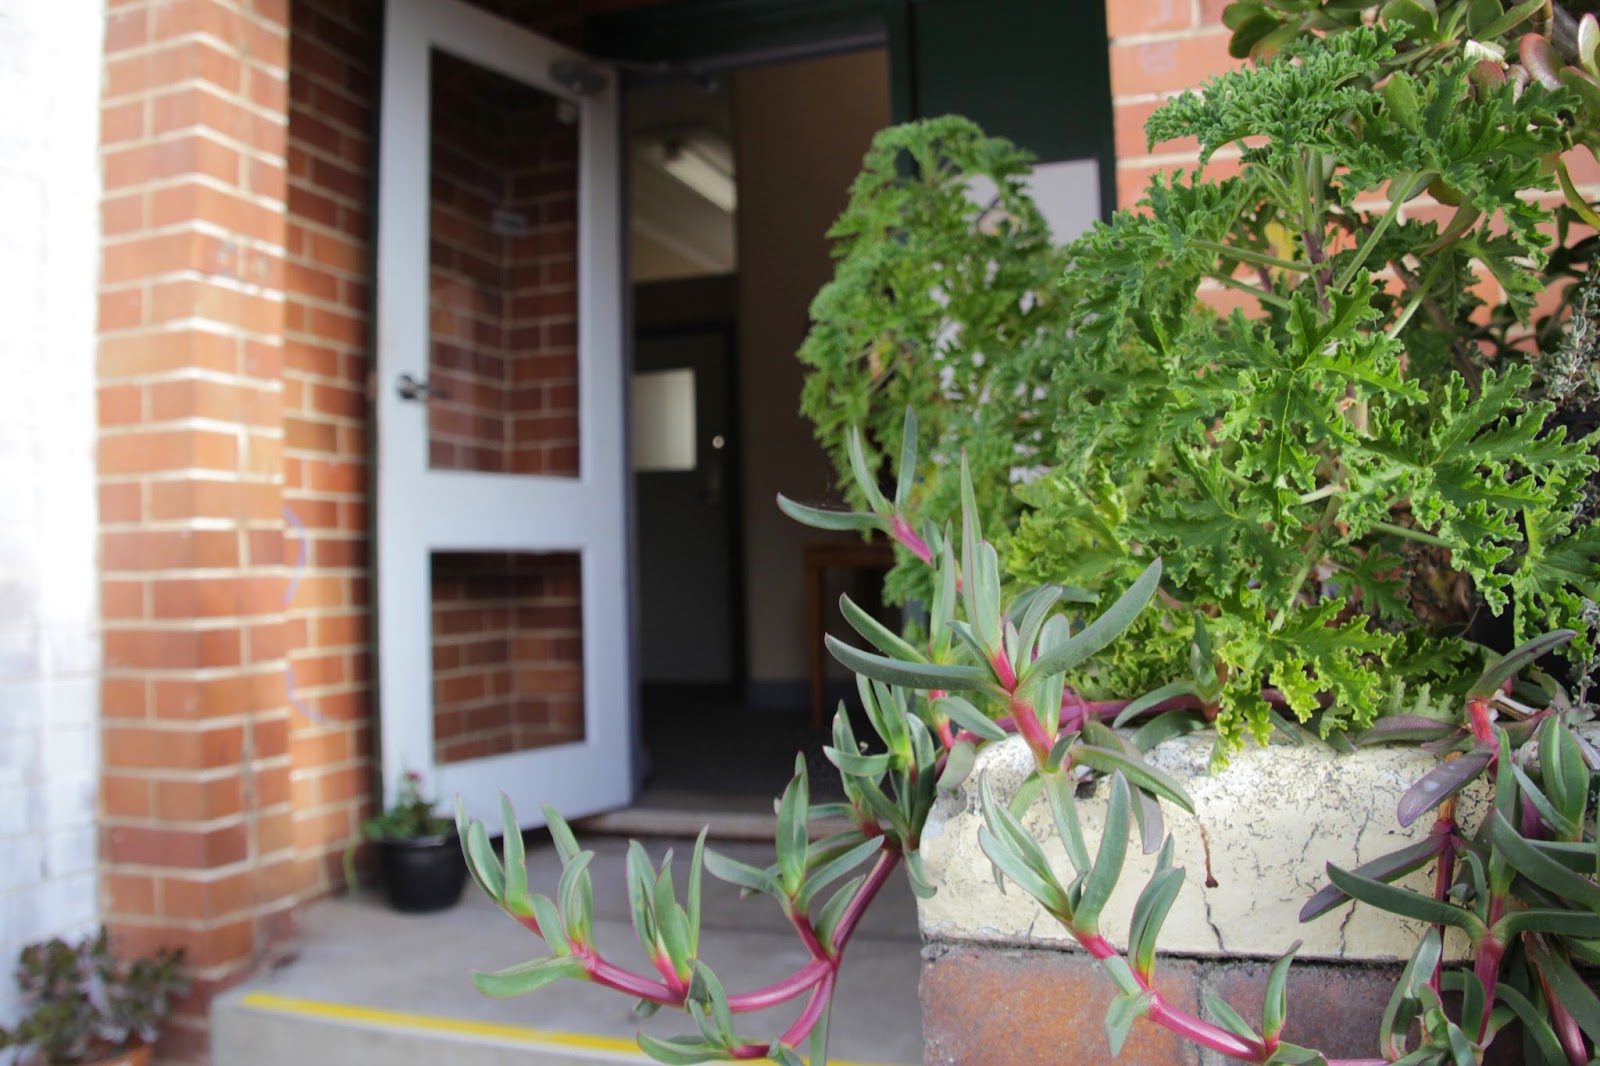
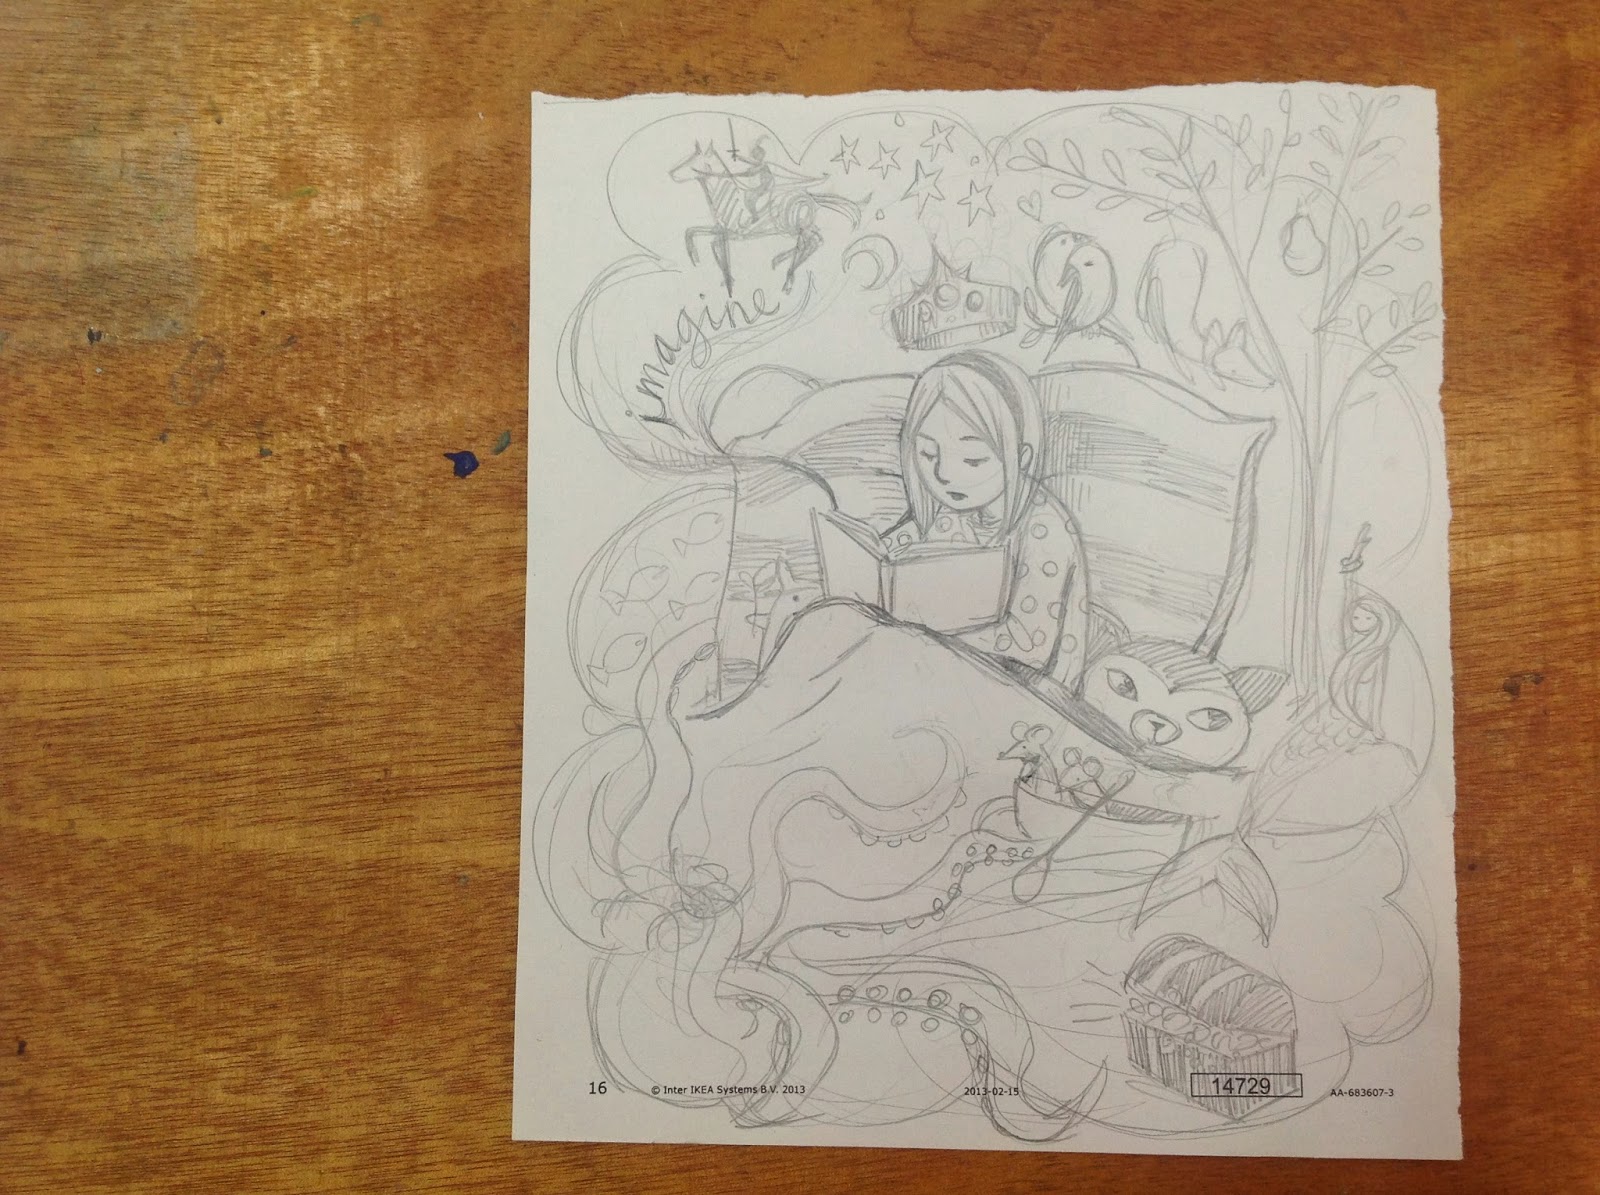
Utilizing an old school building pegged for eventual redevelopment, Pop Up Parramatta has crammed the place full of creatives like artist Tam Cao + children's fashion label Museak (aka the very talented Kristal)
I am in good company.


Rosieteapot// a magazine

It is probably a good thing that my blog is attached to Google - otherwise it is highly likely that I would have forgotten my password.
That's how long its been since I logged in to update this tragically neglected blog.

A lot of things have been going on. I closed the shop - moved into a studio - painted one of the walls with chalkboard paint (totally noteworthy) - held an awesome art exhibition - other stuff...

Other stuff like being featured in Rosie's very wonderful and wonderfully free e-publication: Rosieteapot.
She features all kinds of creative ladies from around the world and I love that unlike magazines and other publications with limited page numbers Rosie gives plenty of time to get into peoples worlds and chat with them. I went to high school with Rosie, so I feel like I kind of cheated my way in, but I was totally honoured to be featured with some very inspiring ladies.


So do yourself a favour and take a while to sit and flip through the pages. Enjoy all the great photos, and meet some new people (kind of... in an internet kind of stalkering/but not really way)

via


Read the 2nd Issue - FREE!


Coptic Binding // a tutorial

As a follow up to the book-binding classes we have been holding at the shop this month I thought that I would re-post this tutorial as a reminder of how to coptic bind books for those who have attended classes. If you haven't attended a class with The Elm Tree, let me say this:

  1. You're missing out. 
  2. Good luck understanding my instructions <--- genuinely. I have no idea if this makes sense.

This tutorial first appeared on my old blog ( http://lady-proteus.blogspot.com.au/2011/12/books-for-whatever.html ) 

I make books.
I make them because I like the idea of art being functional and so I put art on them, and sell them at The Elm Tree and my webshop (side bar link)
I also make all of my own notebooks, journals, and sketch books - it is such a personal thing for me - so I hope that these photos and instructions inspire you (and instruct you!) to make your own. 

What you need:

Scissors, glue, cardboard, waxed linen, a big ole needle (bookbinding or wool darning  needles are fine), an awl, and paper.

Gather together the paper that you want to make up the pages of your book. Fold them all half in groups of 5 or 6 ... or more or less. It really depends on what kind of paper you are using, if its really thin you can use more, if its thick - less. (logical) The folded bundles of paper are called signatures.

Cut two pieces of cardboard for your front and back cover. (make them a little bit bigger than the signatures) Now decorate them!  I have used some prints I made just for these books. But you can decorate them however you like. Wrap the cardboard in fabric, paper, paint it, leave it plain, whatever you like!!

Put your covers together with your signatures and when you have them lined up how you like, draw spots where you want to bind the book.
After making a couple of books I would suggest that you do it like this
 ---*--*--------*---------*--*--- (imagine this is the side view of a signature - the * is where the stitches will be visible) 

Using an awl, stab holes in each of your signatures (make sure they line up or you'll end up with a crooked book) I lay the signatures in an open book to make it easier to stab - it functions as a replacement for official cradles that hold the paper for you (and its the only use my old biology text books get these days... good on you university) Holes at corresponding distances need to stabbed in the front and back covers at least an inch from the edge.

If you get confused, stack everything back together like a book to see if it lines up.

Now you're ready to sew it all together! (enjoy the confusion of my instructions!)

The length of thread you need should be (approximately) height of the book x ( number of signatures + 2 ) ... I have 4 signatures, so I wrapped the thread around the front cover (top to bottom) till I had 6 lengths. Easy. (right?!)

Start inside your first signature, at the bottom hole.


Pull your thread through leaving just a little tail inside the book (enough to tie a knot)


Bring your needle through the corresponding hole on the front cover from the outside of the cover to the inside.
Then bring your thread back into the hole of the signature that you started at. (so it's just a big loop to tie the cover onto your signature)

Tie a knot.

Move up to the next hole up, and follow the same steps to attach the front cover to the first signature of your book don't worry about the knot though... that's just for the first one.

Continue up until you get to the last hole right at the top, sew the loop attaching the front cover to the signature and then do NOT bring the needle back into the signature.

Instead, make a small knot (if you can see in the photos how that's done) and then bring your needle from the outside into the top hole of the next signature.


Make sure you keep pulling your thread taught. If its loose your binding will be wobbly, and if it's too tight you could rip your paper (annoying) or end up with a book that sits open (also annoying though it does stretch out)
From the inside of your second signature move to the next hole down and bring your needle back out. With this type of binding you are always only really attaching each signature to the one in front of it. So loop your needle under the stitch holding the first signature to the cover, and then bring it back into the second signature - the hole where you started the stitch.  ------>


Keep doing this until you get to the last hole where again you just sew a little knot around the previous stitch and then move on to the third signature. (I hope these instructions are making sense... here are some more photos)


Keep going like this until you get to the end of your final signature. At this point you are just doing the reverse of what you did to sew the front cover on. From the outside of the final signature loop through the coordinating hole of the back cover and back inside the signature.

Sew down through each hole, attaching the back cover to the final signature. Loop through the last hole, then stitch a little knot inside the signature.


Done.


Art cards // A GIVEAWAY


My mum has pretty good ideas. At the end of last year she helped me get 10 of my illustrations turned into cards - just in time for the Dreamers Market. 
They have since become my best selling products. 

I am working on some new things, which I will get into more when I have some work to show you! 

I am running a give away on facebook (/eleanormccomb.art) and instagram (@eleanormccomb) and I would love to know which of these cards is your favourite. I have been really surprised by what images people identify most with, and it would help me out to know a little more about what people think of my work!

At the end of the month I will draw a name from all those who comment (on FB, IG or here on the blog) and they will win one of each of the TEN cards that I sell. Bonus entries for those who share the image (or this blog post) on social media. 

The cards are all pictured here - so take a look and leave a comment!

Thanks!!


The Elm Tree // Relaunch video

If I were a colour, I would be the exact colour that is painted on the back wall of the shop.


Pre orders // The Hipster Lumberjack


Getting my illustrations ready for printing seems to be a tragically chaotic process...
It should be a lot simpler.

The Hipster Lumberjack is heading off to the printer soon, so if you are keen to order one for yourself, send me through an email to eleanor.mccomb@gmail.com 

The print is on A3, but takes up the space of an A4 piece of paper.
All the prints will have either the blue shirt, or yellow shirt, - but if you want one that is 100% yours, I have a limited number of lino prints on 225gsm A3 that can be coloured.

Pre-orders (before April 5) get FREE SHIPPING Australia wide.

I will have more new work up soon in the shop (there is a new link in the side bar!) and if you go give it a click, you can buy the pictured print!

Yes. That's red riding hood again.


Maybe it is the workshop tables being set up in the middle of the shop, or the awesomely green wall, or maybe its just because I haven't done my own art for such a long time - whatever the reason - I have been making quite a bit of art recently.

Mostly lino prints... or rather. Rubber block prints.
I have blogged about how I work with this stuff before - it is so much easier to cut than lino or wood - and as I don't have a press, it is also easier for me to print.
Everyone who sees them tells me about how they 'did that in high school' and I am not sure why more people don't do it now.  After designing the print, there isn't a heap to think about and I kind of like the mindlessness of just cutting... I don't know what that says about me...

I thought I would share with you some process photos though.


 the initial drawing.

 the block (this is actually after printing the orange, and then cutting away the next layer.)
 ORANGE
the first print... aligning the prints is reaaaally difficult when you are just kind of eyeballing it...
 I kind of got the hang of it eventually.
 it seemed kind of unbalanced (too orange) so I added some extra white with this sweet gouache pen I got from Daiso.

The final print (original on the left the drawn on one on the right.)

Powered by Blogger.